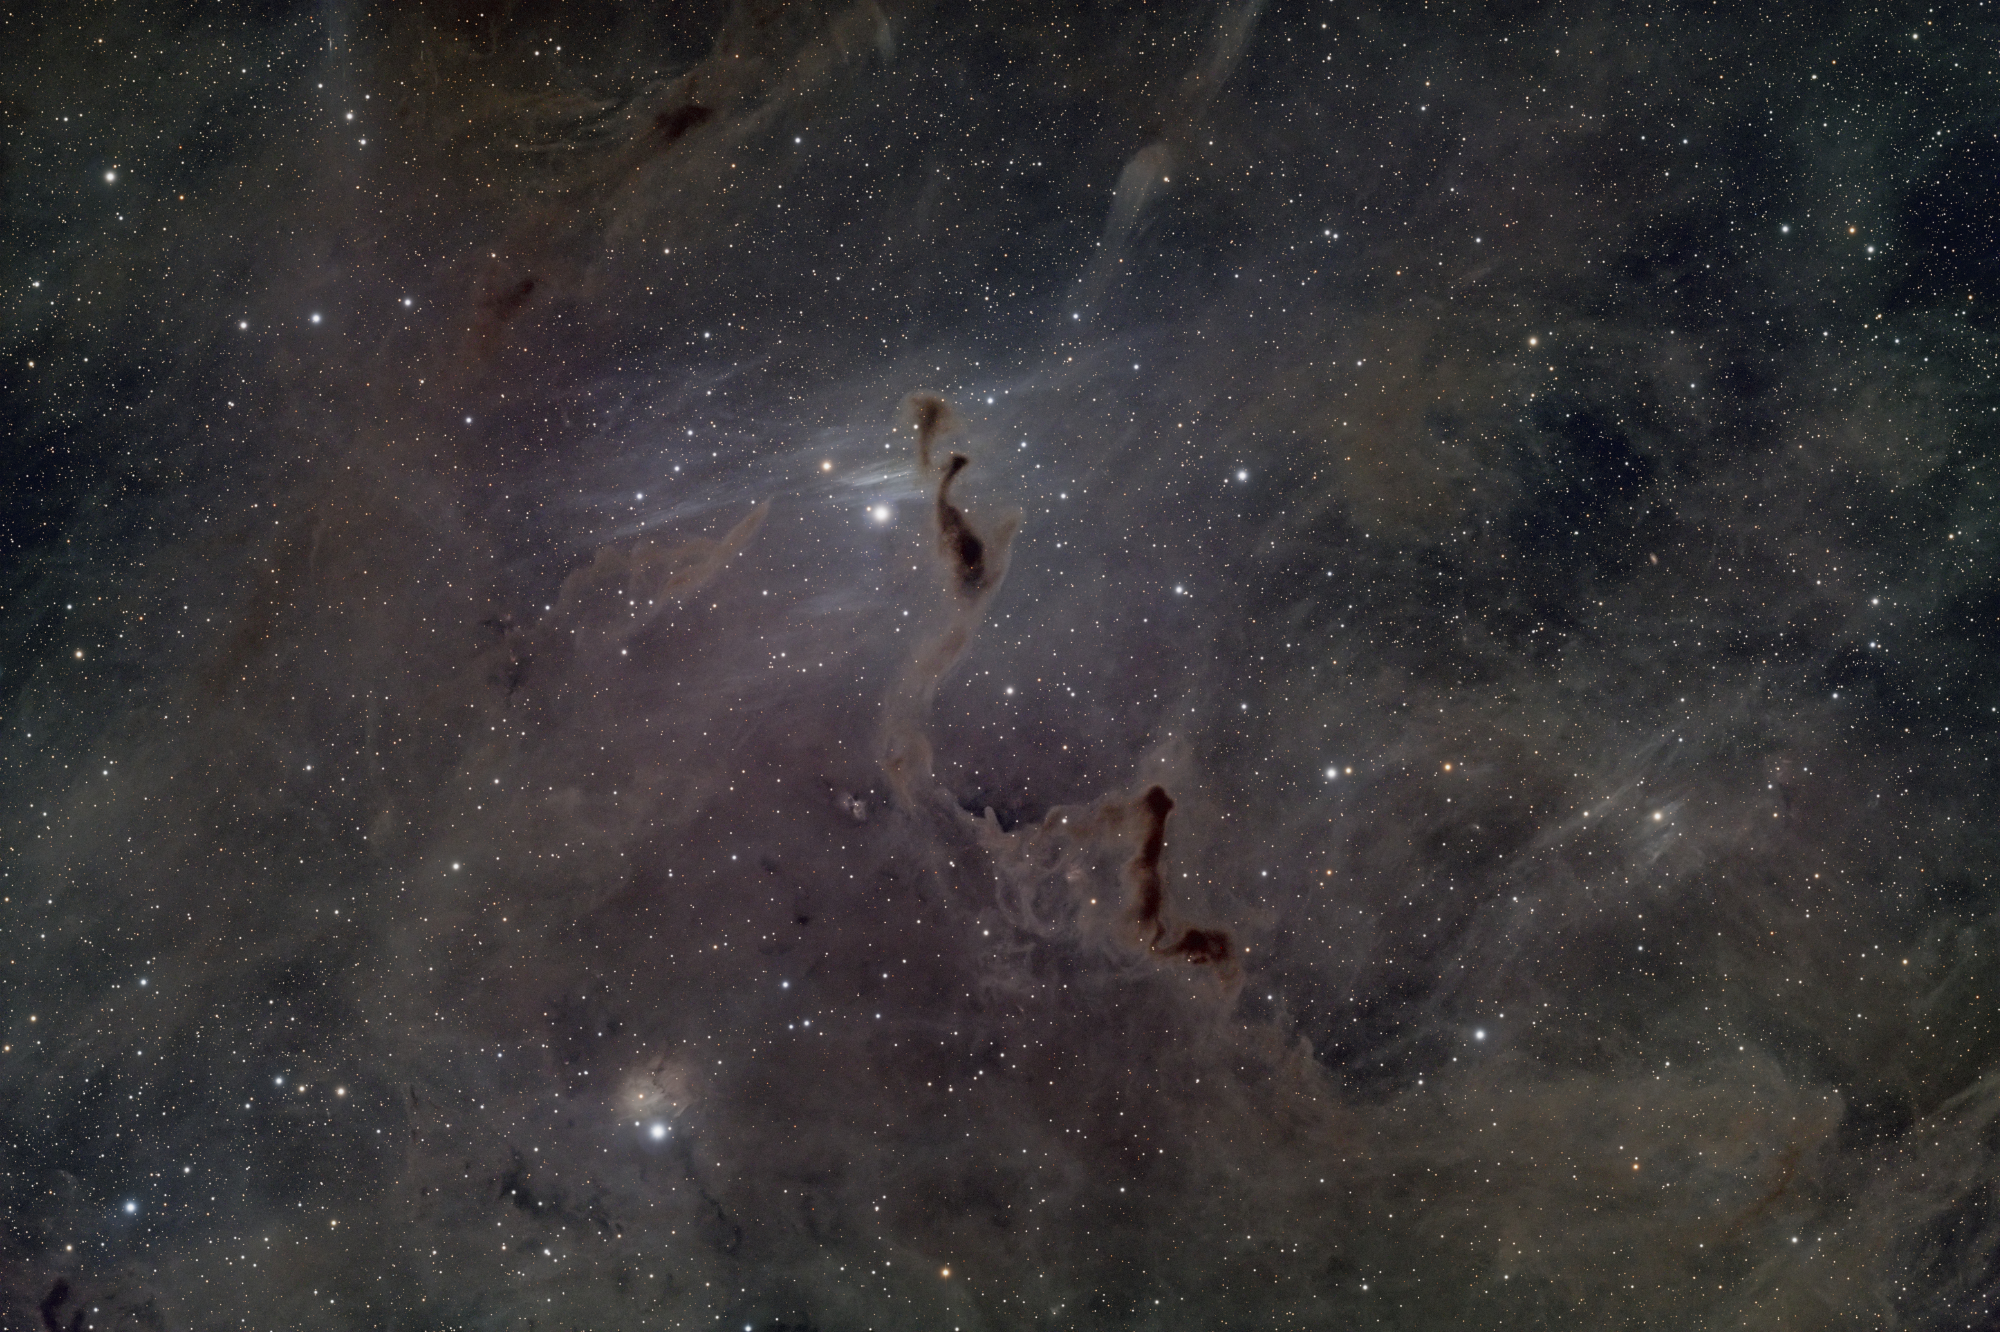

I’ve only shot a few dark nebulae but I find them totally interesting. In many cases the individual subexposures you capture show little to no hint of the dark nebulosity contained within. Even the master lights (the output from calibration and stacking) may appear to be just simple star fields. Not until you apply some careful stretching does the dark nebula reveal itself.
We’re finally getting into true astrophotography season where I live in the eastern Rocky Mountains in Colorado. At an elevation 8400 feet above sea level, I enjoy Bortle 4 skies here in my backyard. Even the cool nights this time of the year are mostly dry so I don’t have to battle dew very often. So this past week I happily took advantage of a string of five clear nights around the new moon to do some shooting. My target for the week was the Helping Hand Nebula, LDN 1355. I’d seen this nebula imaged by others on Astrobin and thought it would be a really cool target, and I wasn’t disappointed.
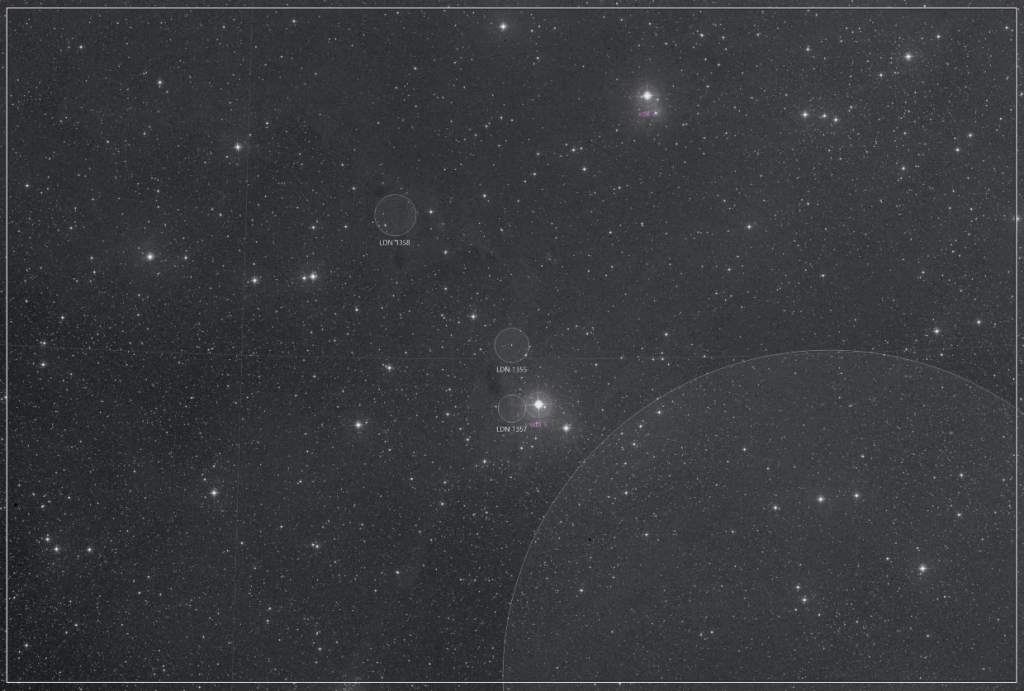
N.I.N.A. is my preferred software for managing imaging sessions, and its Framing Assistant is extremely useful for setting up a target. Dark nebulae can be challenging to frame, though, because even the NASA Sky Survey used by the Framing Assistant (shown above) doesn’t show a lot of detail in dark nebulae. I could see enough there to be confident that I’d capture the nebula, though.
This was another target well-suited to my Sky-Watcher Esprit 100ED 100-mm f/5.5 refractor and my ZWO ASI2600MM Pro camera. I thought I might end up cropping the final image, but there was so much detail that I decided against that. I shot using filters for LRGB and took 10-minute subs. I ended up with a total of 117 usable subs in L, 36 in R, 39 in G, and 35 in B, just shy of 38 hours. I discarded 30 subs due to excessive satellite or aircraft trails or occasional high clouds. All of the subs showed nice-looking stars, and my guiding accuracy (using my iOptron GEM45 mount) averaged around 0.6″.
I shot my usual T-shirt flats every morning just before sunrise so I had a set of flats for each night’s imaging. I’ve found that starting to shoot those about 8 minutes before the calculated sunrise time gives me good results. I use N.I.N.A.’s Flat Wizard to shoot flats and their corresponding darks. For the darks corresponding to the light frames, I draw from my library of master darks that I shot for this camera, exposure time, gain, and offset.
I ended up with a total of 1028 frames to feed into PixInsight’s Weighted Batch Preprocessing (WBPP) script. I’ve noticed that with the latest couple releases of PixInsight that it’s become quite peppy. I’d already set up my PC to allow PixInsight to make use of my GeForce graphics processor but there now seems to be some built-in capability within PixInsight to do that. At any rate, it took about a half hour on my 3-year-old Dell XPS with an Intel i9 processor, 32 GB RAM, and GeForce graphics processor to produce the masters for L, R, G, and B.
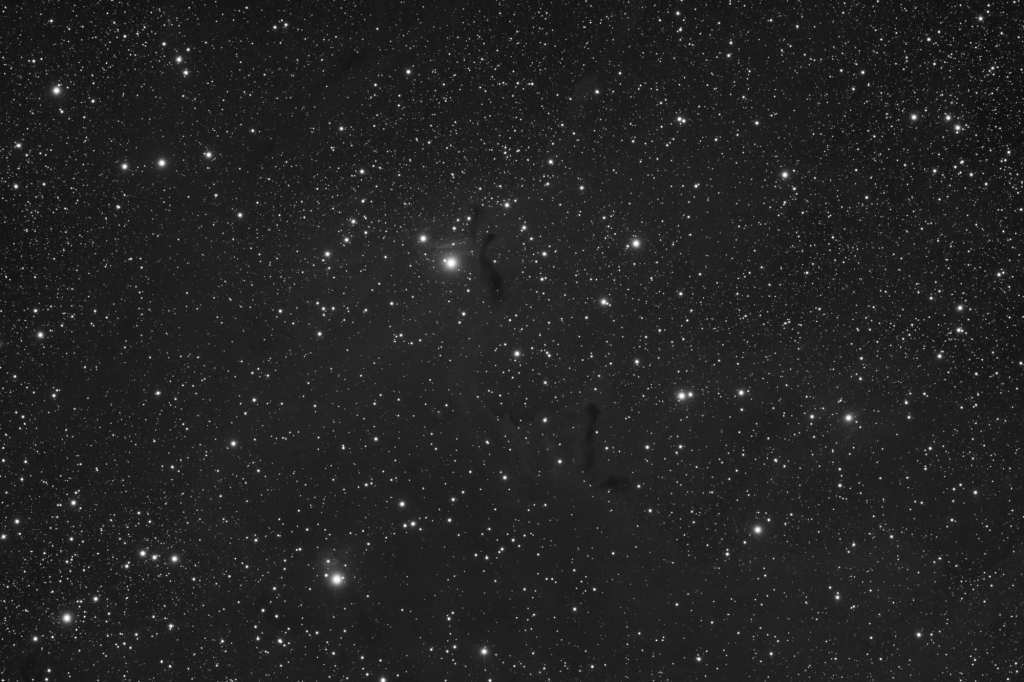
As you can see above in the master luminance image, there still isn’t much to see in the way of a dark nebula.
Once I had the master lights in hand, here is the workflow I used in PixInsight to get to the point where I was ready to stretch:
- Use the L, R, G, and B masters to create a synthetic luminance image
- Combine the R, G, and B masters into an RGB master using ChannelCombination
- Apply gradient correction to the synthetic luminance and RGB master images
- Apply color correction to the RGB master using SpectrophotometricColorCorrection (SPCC)
- Apply deconvolution to the two images using BlurXTerminator
- Apply noise reduction to the two images using NoiseXTerminator
- Extract the stars from the two images using StarXTerminator, making sure to unscreen the stars and generate the star-only images (we’ll only use the stars from the RGB image)
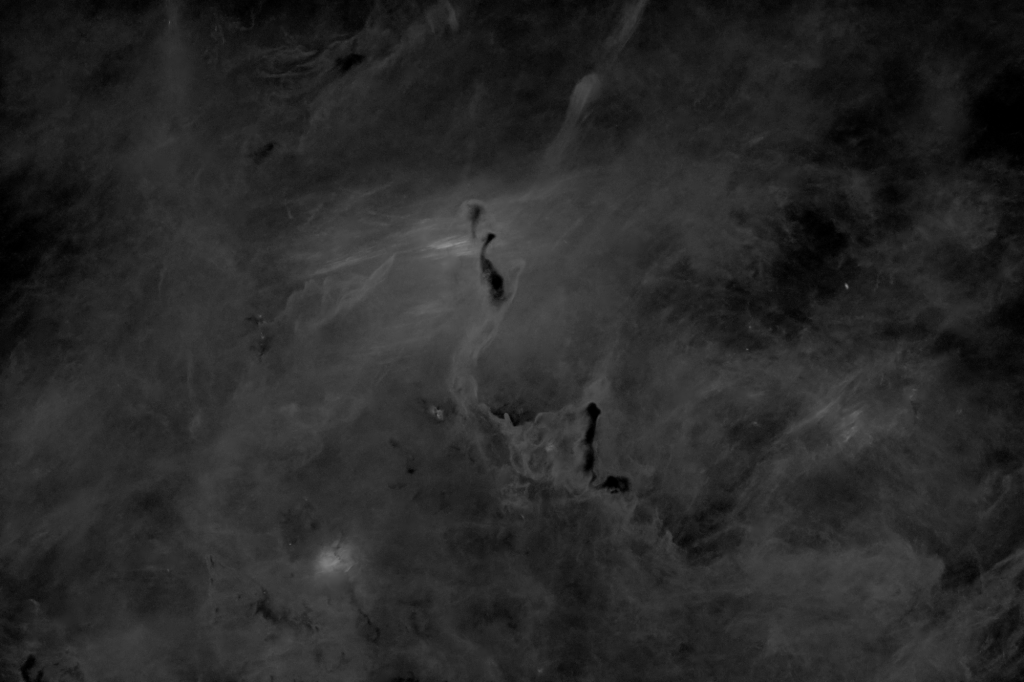
Once I’d finished all the processing with the two masters in the linear state, it was time to apply a stretch to each. I started with the synthetic luminance image, turned on the preview, and started tweaking the controls until I got something pleasing. Here’s what the initial stretch of the luminance looked like:
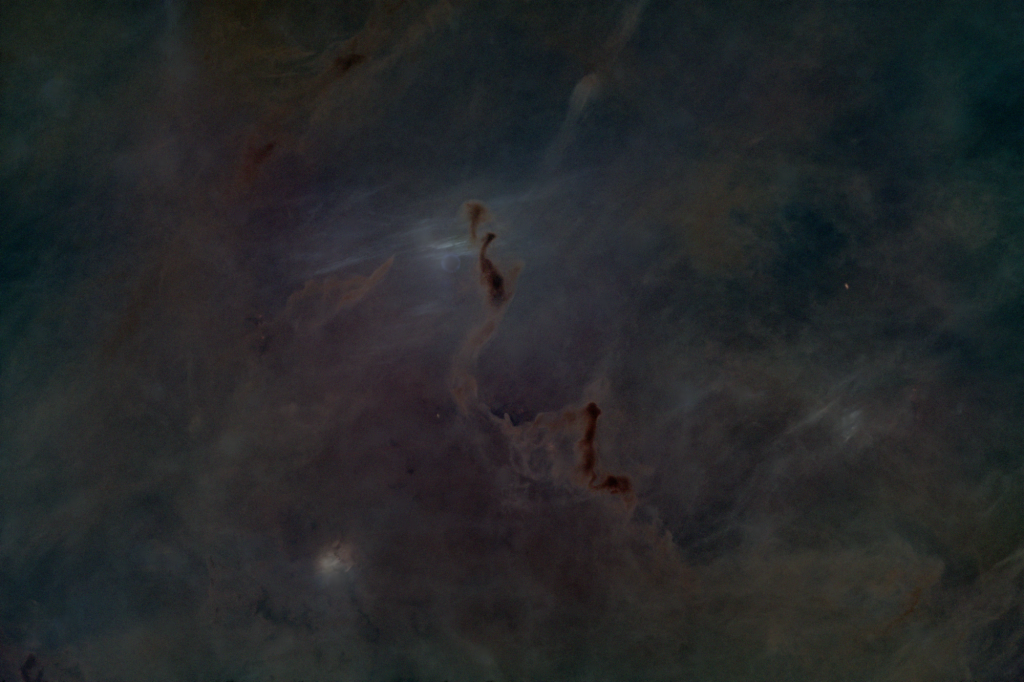
I did the same for the linear RGB master:
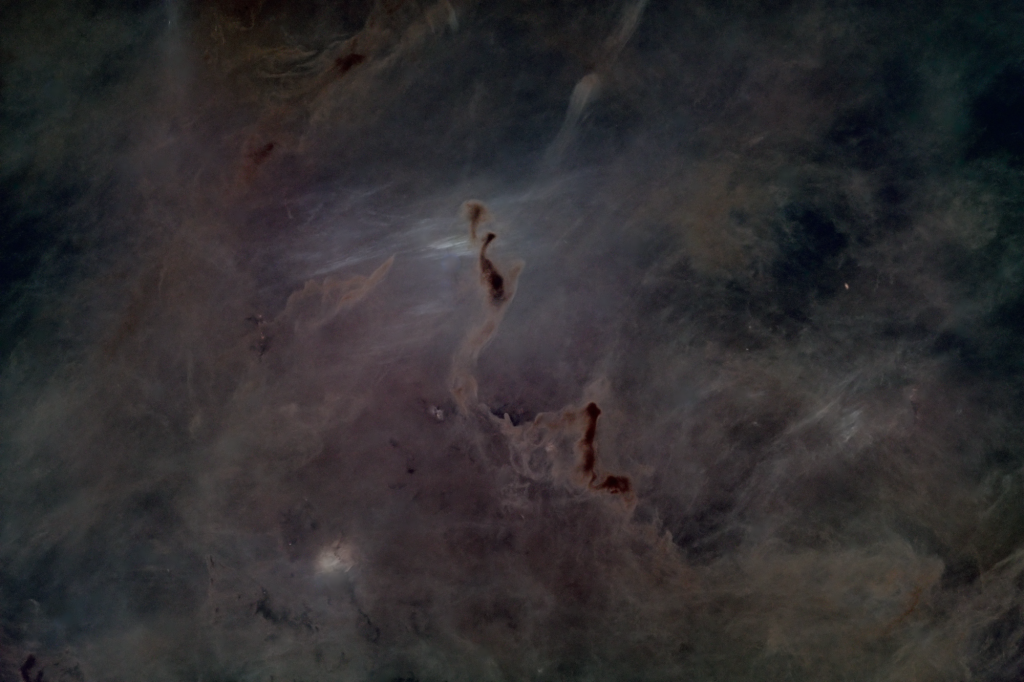
Then I combined the two stretched images into a single LRGB image using LRGBCombination:
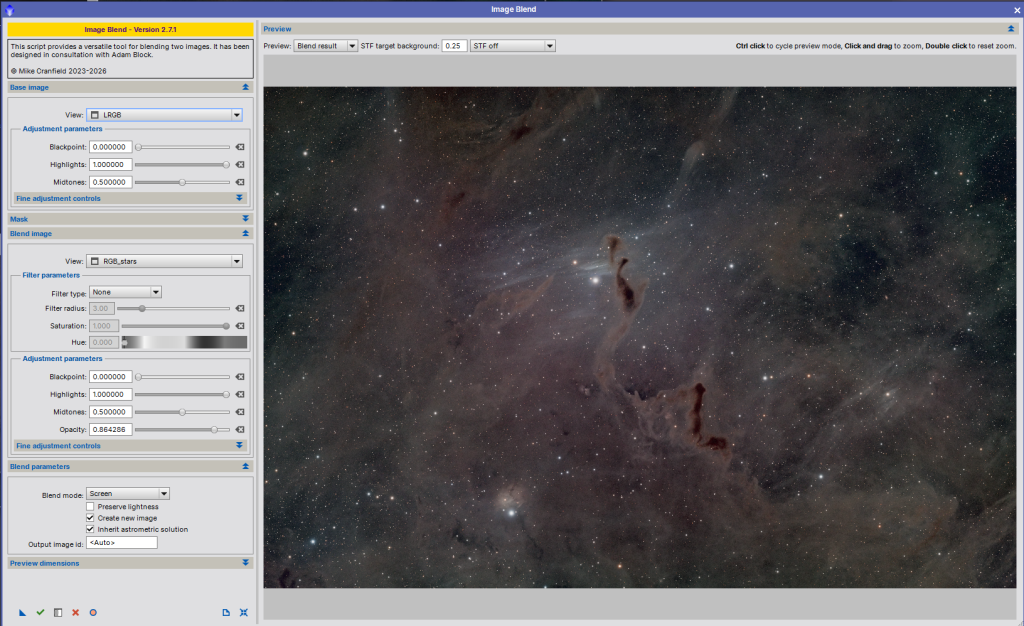
After that I usually do a little tweaking using HistogramStretch and CurvesTransformation to punch up the image a bit. Once I’m happy with the final starless image, I go back to the image of the stars extracted from the linear RGB image using StarXTerminator and apply a HistogramStretch. Then I use the ImageBlend script from Mike Cranfield over at Cosmic Photons to blend those RGB stars with the LRGB starless image we just created:
At this point I save the final image as a .TIF file and save the PixInsight project. Then I use Affinity (image processing software from Canva) to crop, add annotations and metadata, and maybe do a final tweak or two before exporting as a high-quality JPEG file for sharing on social media. Affinity is very powerful and free (although you can subscribe to some advanced features) and rivals Photoshop in capability.
Overall I was quite pleased with the way this image turned out. It was nearly jaw-dropping to see the nebulosity emerge when stretching with MultiscaleAdaptiveStretch, and I was truly delighted at the final result when the stars were finally added back using ImageBlend.
If you’re interested, you can see additional details regarding equipment and exposures on my Astrobin page: https://app.astrobin.com/u/PhotonPhanatic?i=gy4ene