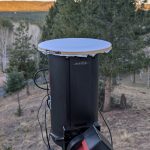
last week I unwittingly gave myself the opportunity to see first-hand how important good collimation is for astrophotography. I set out to shoot M51 with my 6″ Ritchey-Chretien telescope, having given it what I thought was a decent collimating using a Howie Glatter laser collimator. I had watched all the YouTube videos on RC collimation (like this one) and had been through the process a couple times, and I thought I knew what I was doing. I didn’t bother confirming the quality of my collimation with a star test before I began shooting that night. That turned out to be a big mistake.
My First Clue that Something was Wrong
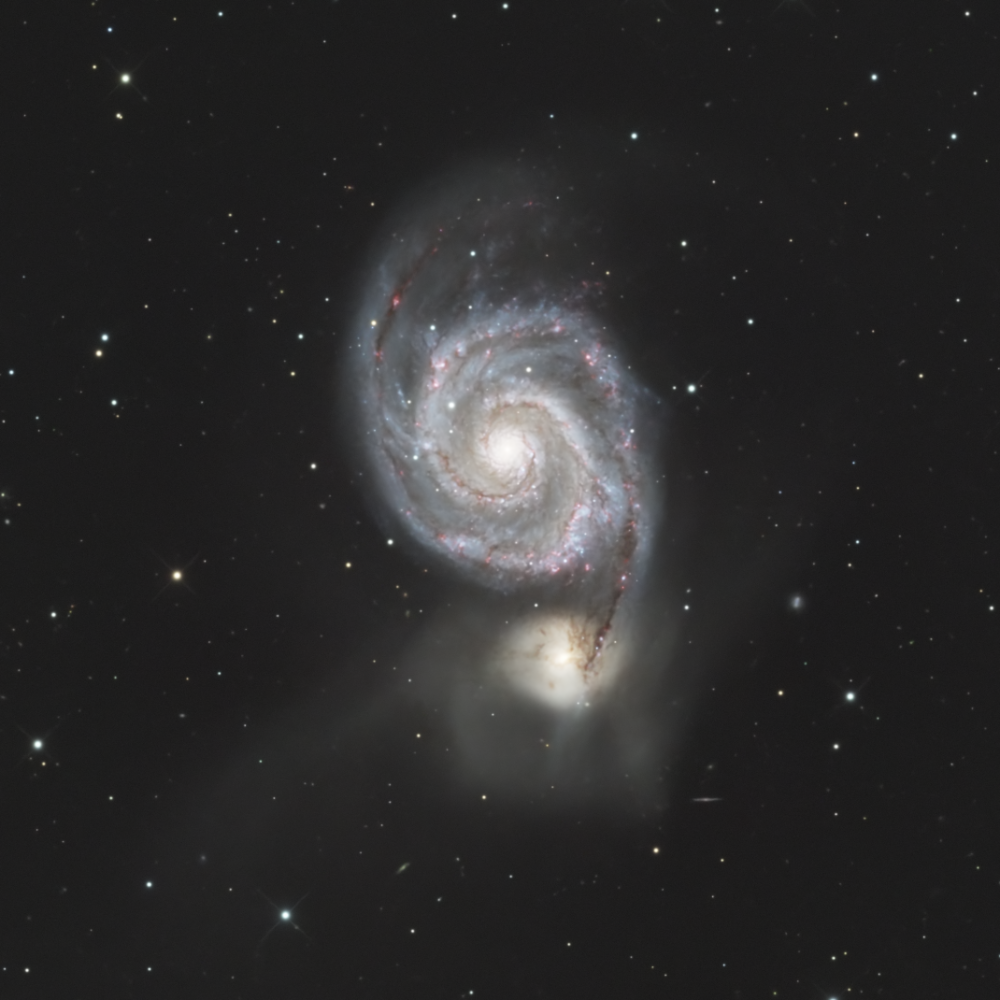
As the subs rolled in that night, it seemed to me that they were a bit on the soft side–not very sharp, despite getting good autofocus curves from N.I.N.A. But I continued with the imaging run and then processed the data the following morning to see how it looked. Even after stacking, things still looked a bit soft, but I didn’t really give the master lights too close of a look. I ended up with a presentable image, thanks mostly to the magic of BlurXTerminator. It even got a decent amount of attention on X (well, decent for me, anyway).
Getting Back on Track
As I hinted in the above post, I felt like I could get better results from this scope. I removed the tilt plate from the focuser (opinions on the use of tilt plates are mixed, so I elected to simplify) and recollimated, again with the laser collimator, before reassembling the rest of the imaging train. I waited impatiently for another clear night, and when it arrived four days later I took the time to check the quality of the collimation using a star test. Regulus was conveniently located for the job, and I soon determined that my collimation was terrible, despite my efforts with the laser collimator.
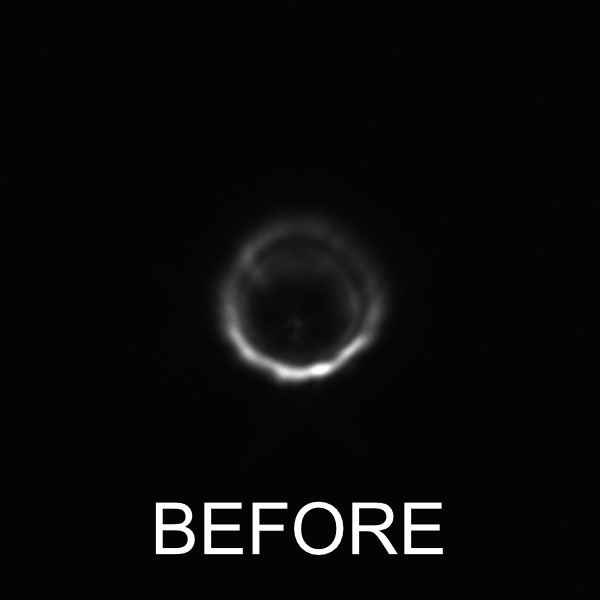
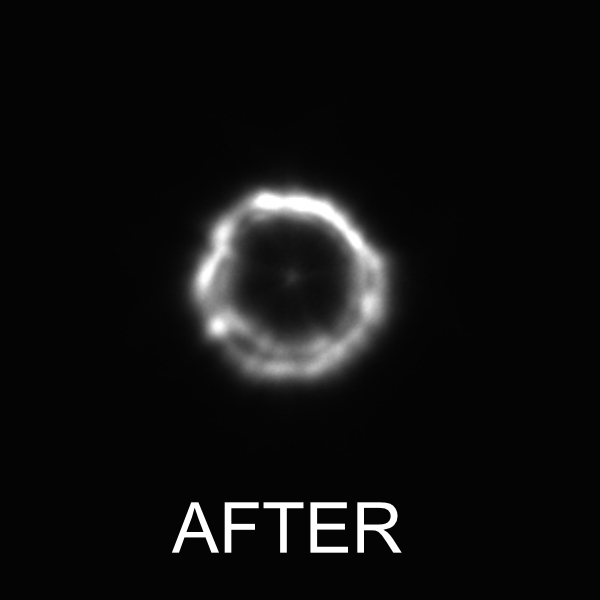
The above images show the initial collimation and the resulting collimation after I adjusted the tilt of the primary mirror to make the defocused star “donut” more uniform and symmetrical. (It’s worth mentioning that seeing was not great on this night, and the defocused stars almost appeared to be boiling. The images above show some of that boiling. The “after” result, on average, was better than the snapshot above might make it appear.)
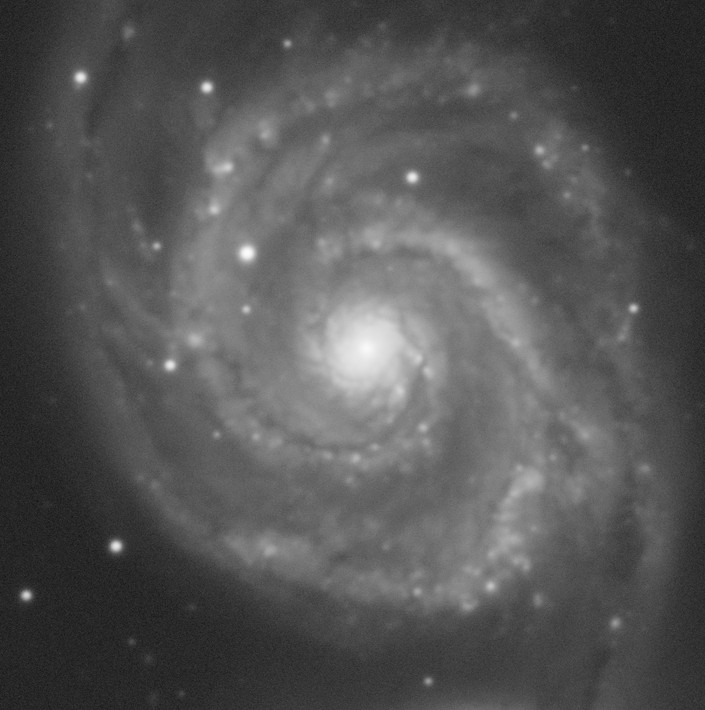
After correcting the collimation as much I could, I proceeded to capture data on M51 for the rest of the night. In the morning, I stacked the new light frames and then compared them to the master lights from the previous effort. The differences were apparent.
Success!
I have to assume that the telescope was as poorly collimated on my first attempt at M51 as it was when I first checked it on my second attempt, and the comparison supports that. I compared stars in each of the four corners of the master luminance images. Here’s the top right corner:
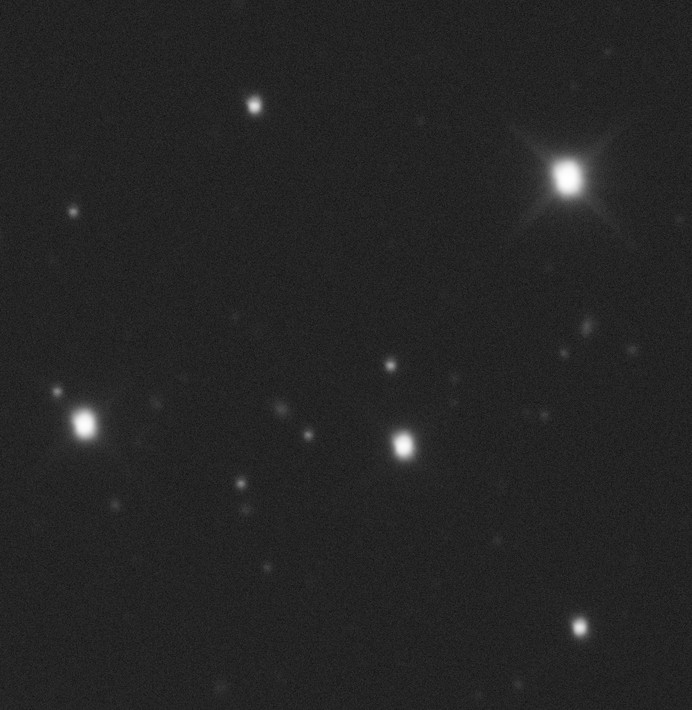
The left image is from the first night and exhibits terrible star shapes. The star shapes in the right image are much better, resulting from improved collimation.
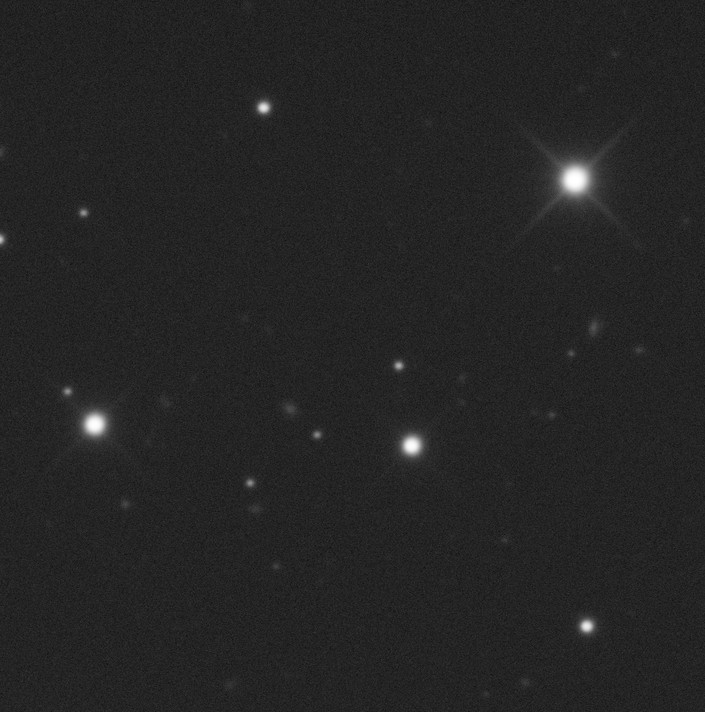
The other corners showed very similar results. Here is the bottom right corner:

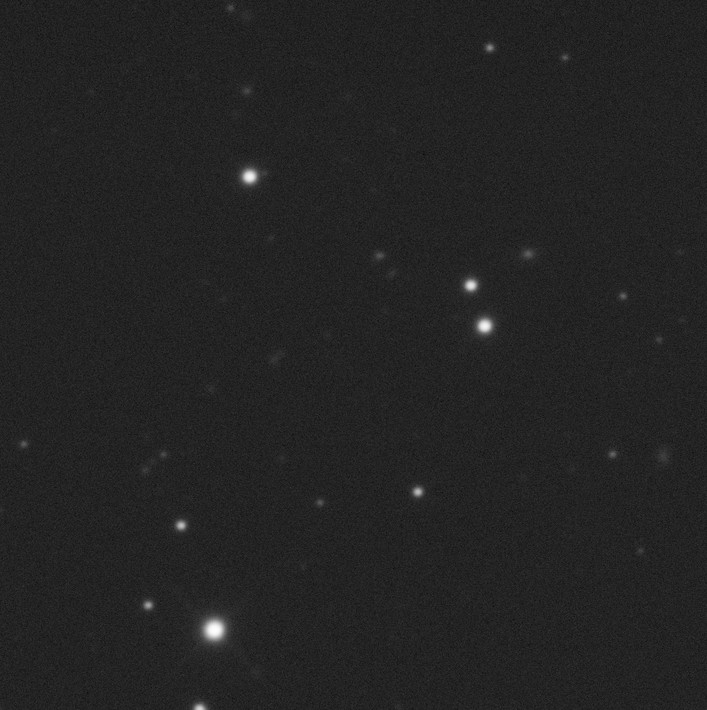
The bottom left corner:


And, the top left corner:

In all cases, the star shapes even in the corners of the image are pretty good once the collimation was corrected using a star test.
Two more comparisons. This one is still from the master luminance frames, this time the centers of the frames:

The difference is clear–the poorly-collimated image shows distorted stars and less definition. The improvement on the right is obvious. Finally, let’s take a look at a similar comparison, but this time from the final result:

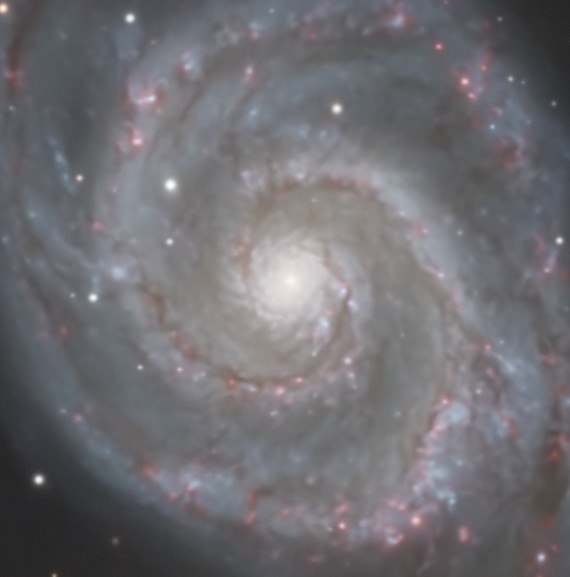
Here the differences aren’t so obvious but I think they’re still apparent. This is as much a demonstration of the power of BlurXTerminator to correct a poor image.
Lessons Learned
So why was my collimation so poor after using the laser collimator? It’s possible I don’t understand that collimation process like I thought I did, but I don’t believe that’s the case. Maybe the methodology is flawed. In particular, I don’t care for how adjusting the tilt plate (for adjusting the focuser tilt) is the first step in the process and not the last. But that’s a limitation of using the laser, I suppose. I ultimately decided to eliminate the tilt plate, at least for now. Even High Point Scientific, who sells my RC telescope under its own brand, discourages the initial use of the tilt plate in their article on RC collimation:
We highly discourage the initial use of a focuser tilt plate accessory. It is important to be successful at basic collimation before adding other accessories into the system. Only once you are comfortable and confident with the factory included hardware, should you add additional adjustments to the telescope, if desired.
There is a well-known method for collimating RC telescopes published by Deep Sky Instruments that relies solely on taking images of out-of-focus stars and then making corrections to the primary and secondary mirror tilt until the appearance of the stars indicates proper collimation. The DSI document contrasts this method with the more traditional approach of using a collimation telescope or laser and points out the shortcomings of the traditional approach:
The traditional method of collimating references several physical points within the system and relies on certain assumptions that may or may not be true. First, the method requires a center spot (or circle) on the secondary mirror. This spot is usually located in the physical center of the secondary mirror. It assumes the mechanical center of the secondary mirror is also the optical center of the secondary mirror.
Further, the method references the edges of both the primary and secondary baffles. It assumes both baffles are coaxial with the OTA and that the system optical axis will eventually be coaxial with these as well.
Neither of these will be the case to at least some degree. That is why it is often reported that when a scope is collimated with the traditional method that it still does not perform well. Conversely, a well collimated scope may not look collimated when viewed with a collimation telescope.
The last two sentences of that quote tell the real story, I think. For me, the laser was telling me that my scope was collimated well, but the stars told me a different story. While it’s convenient to be able to collimate your telescope in daylight on the test bench, it’s pretty clear that you can’t rely on that alone for good collimation. Only under the stars can you really confirm (or obtain) good collimation.
The DSI method is fairly straightforward. You adjust the primary mirror tilt to remove on-axis coma (make the star donut in the center of the field of view look symmetrical and uniform). Then you adjust the secondary mirror tilt to remove off-axis astigmatism (make the stars in the corners of the field of view look symmetrical). Repeat until no more adjustments need to be made. Take out-of-focus images at each step and examine them to determine what adjustments need to be made.
So far I’ve only executed the first step in this process, so I’m certain my collimation can still be improved. The next chance I get I’ll be spending more time fine-tuning my collimation using this method. It feels laborious when you first try to do it, but I suspect that it’ll get easier with time.